Comprehensive Guide to Hiking the W Trek in Patagonia
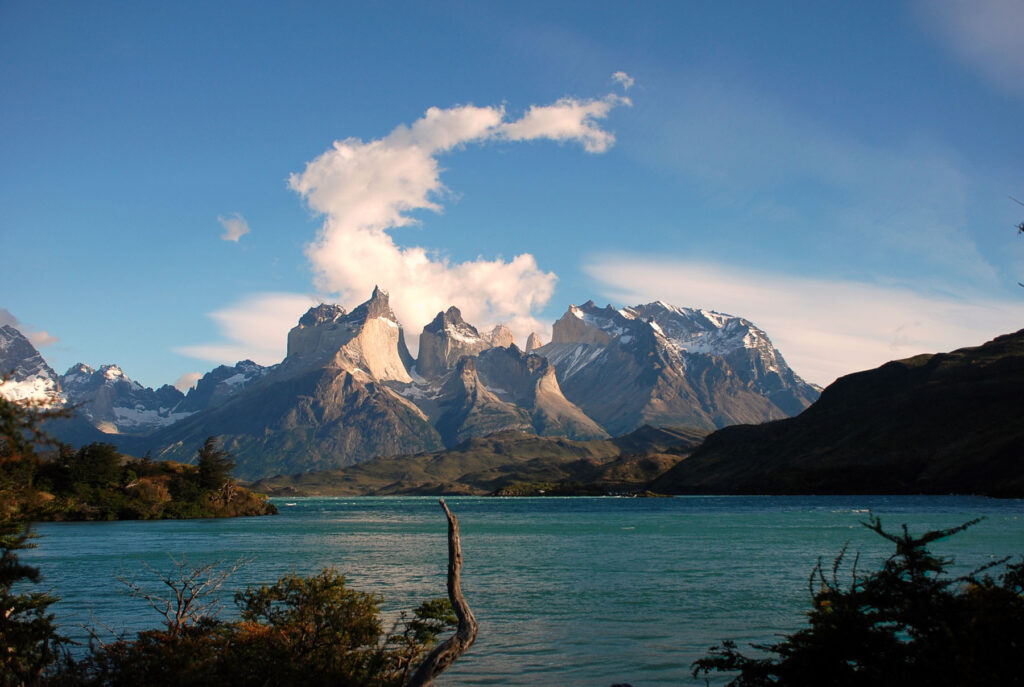
Patagonia is my all-time favorite place in the world. And yes, maybe I’m biased because it was my very first hike that got me addicted to hiking ever since. Or maybe it’s because I was going through a life-changing event at the time and this place helped me rediscover and heal myself. Or perhaps this place truly is as beautiful and magical as everyone says it is. Chances are it’s a combination of all three.
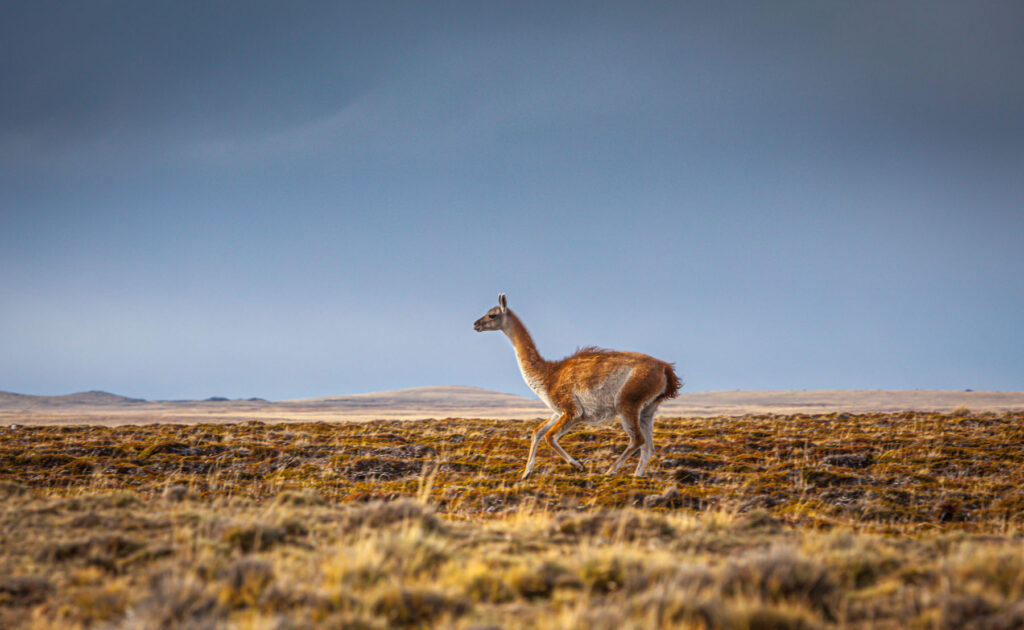
Patagonia is a hiker’s paradise. You have stunning views of the surrounding peaks, beautiful forests, jaw dropping sunrises and adorable guanacos. Despite it gaining popularity among hikers and non-hikers alike, it’s still considered to be an off-the-beaten path destination. It takes a while to get there, and the wind alone will make you question your decision to come here, but boy is it worth it.
This place is without a doubt worth a visit. Whether you are simply looking for a beautiful hiking destination, want to disconnect from the world, challenge yourself or rediscover your potential, make sure to add the W Trek to your bucket list.

Patagonia Essentials
Overview of the W Trek
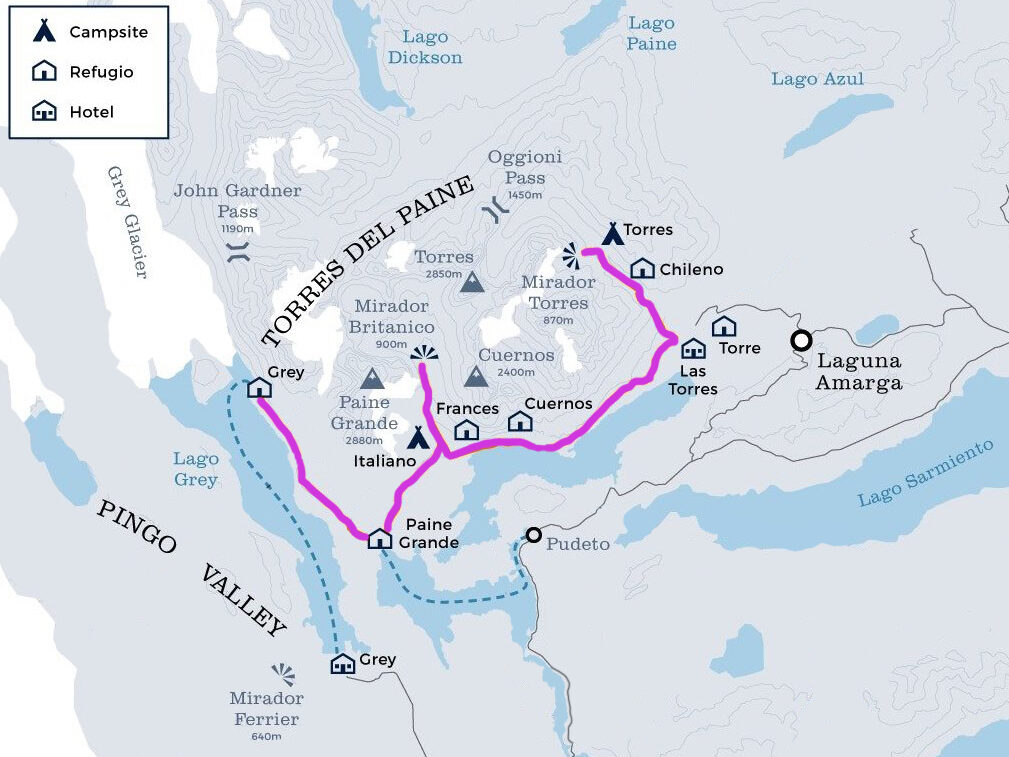
The W Trek, a multi-day hike through the Torres del Paine National Park in Chile, gets its name because it’s shaped like the letter W.
It’s about 50 miles long, which normally takes about 4-5 days to complete. The trek itself is low altitude with the highest elevation being 3,900 ft (1,190 m).
The trek is popular not only with experienced hikers, but also with anyone wanting to get into hiking. Its conveniently located dorms along the route make it easy for anyone who’s not experienced in multi-day hikes where you have to camp and cook your own food.
Having said that, the hike is still challenging, and you need to be prepared to hike 10+ miles per day for several consecutive days.
When to visit
Most people visit the W Trek during summer months (wintertime in the Northern Hemisphere). The trek is typically open for self-guided hiking from October until the end of April. If visiting in the peak months of November through March, the trek is likely to be more crowded. I’d recommend visiting in either October or April.
I hiked the W Trek in April, and it was gorgeous. The boom of colors from the changing leaves made it extra special.
If you want to hike during the winter months (May through September), you’ll be required to hire a guide.
Do you need a guide
The entire trek can certainly be done without hiring a guide. Most people hike the trail in small groups with friends, as well as solo. I hiked the trek solo and would highly recommend doing it that way, but only if you have some hiking experience and are in a decent physical shape.
The trails are well marked and easy to navigate unless you go in wintertime (May through September), in which case you will be required to hire a guide.
Before I went to Patagonia, I didn’t really know much about hiking, nor did I own a pair of hiking boots. Now, I’m not saying do what I did by any means, and I would encourage you not to choose the W Trek for your very first hike, but I just want to highlight that it is possible to complete the trek without any prior experience, even if you are surviving on sheer willpower.
There are a few advantages to hiring a guide though. You will not just hike the W Trek, but you will also learn about it. The guide will teach you about the formation of the peaks, the wildlife, the local fauna and flora, and have insights that you might not be able to easily find online.
The guide will also organize lodging and transportation of your heavy pack from one accommodation to another. Hiring a guide also supports the local economy.
How to get there
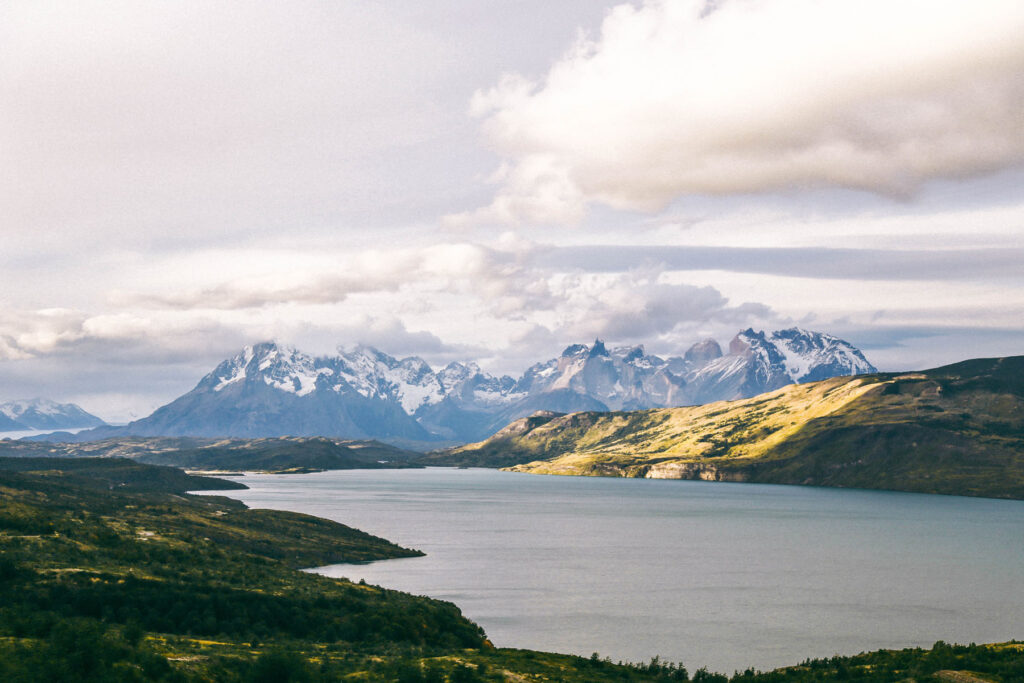
The W Trek is located within the Torres del Paine National Park in southern Chile. The gateway to the park is the small but charming town of Puerto Natales. This is where you will be departing from to various points within the park.
To get to Puerto Natales, you will fly to Santiago, Chile, if coming from an international destination. Then you will get on a local flight to Punta Arenas (about 3.5 hours), and from there get on a bus departing straight from the airport to Puerto Natales (about 3 hours). I recommend spending at least one night here to relax before the hike and explore the town.
Full board vs self-supported
If you’ve decided to hike the W Trek yourself without hiring a local tour company or an independent guide, you’ll want to consider whether you want to stay in refugios (hostels) along the trek or camp in designated camp sites.
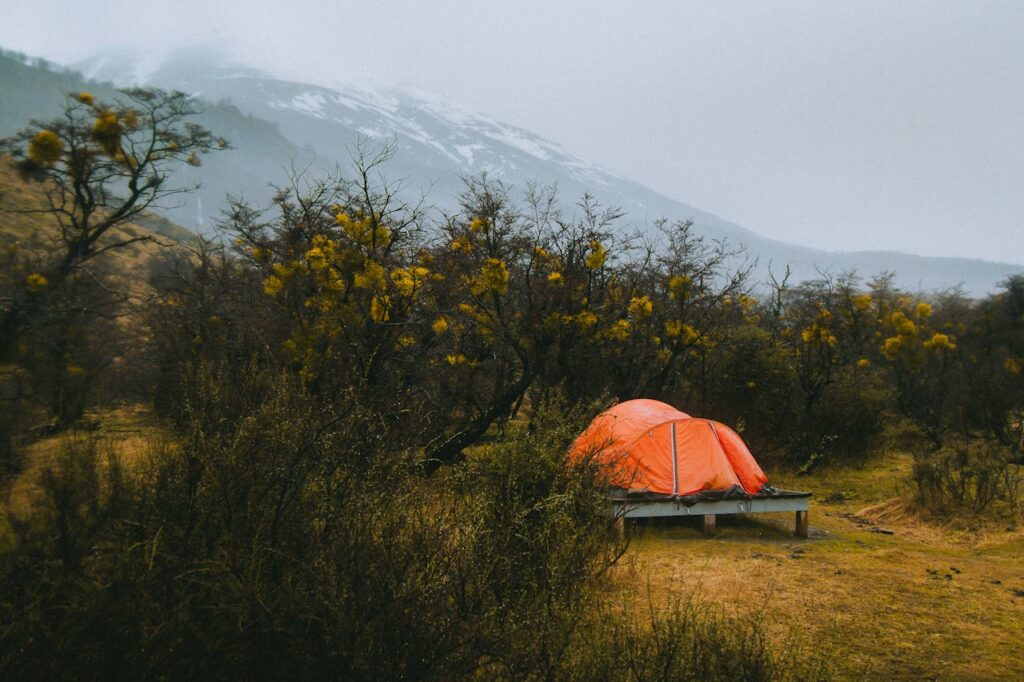
If you go the camping route, you will have to carry all your gear (tent, sleeping bag, etc.) with you. Your pack will be heavier, but if you are on a tight budget or simply prefer to stay in a tent, then this option is for you.
Do keep in mind, that unlike many national parks around the world, Torres del Paine does not allow you to camp just anywhere in the park. They have designated campsites that must be booked in advance. You’ll have access to amenities, like showers and restaurant and bar at the adjacent refugio.
If you prefer an option that is somewhat in between camping and doing a fully guided tour, then you might want to opt for staying at the refugios along the W Trek. It is a more expensive option, but you will not need to carry your tent or sleeping bag, and the food (breakfast, lunch, and dinner) will be included in the price of the accommodation. Plus, it’s a great way to meet fellow hikers and make friends.
How to book accommodation
Whether you are staying in a refugio or pitching a tent, it needs to be reserved in advance. There are two companies that operate the various lodges along the W Trek.
Las Torres Patagonia (formerly Fantastico Sur) runs Chileno, Frances, Los Cuernos, Seron, and Los Torres sites.
Vertice Patagonia runs Glacier Grey, Los Perros, Dickson, and Paine Grande.
All the accommodation (both refugios and campsites) can be booked directly on their websites, or you can use this handy website to make the bookings all in one place. This site is super helpful as it shows different routes, how many days for each route, distance between the lodges and suggested itineraries.
W Trek itinerary: West to East
You can hike the W Trek in either direction, East to West or West to East. There is no best way of doing it. It all depends on your personal preference and the availability of accommodation and camping spots for your select dates.
I did the trek West to East because I wanted to save the iconic towers for my last day and because of the availability of the refugios for my given dates. The following itinerary focuses on the West to East direction, but you can easily reverse it and follow the below itinerary in the opposite direction with some minor adjustments.
Day 1: Puerto Natales to Refugio Grey – 11 km / 6.8 miles
Option 1: Take the early bus from Puerto Natales to Pudeto (about 3 hours). Try to leave Puerto Natales as early as possible, ideally around 6 am to make it to the ferry at 10:30 am. The bus tickets can be purchased in advance on this website – busbud.com.
Once you reach Pudeto, you will need to take the ferry across Lago Pehoe to Refugio Paine Grande. The ferry ride takes about 30 minutes.
Once you reach Paine Grande, you can start your hike towards Refugio Grey.
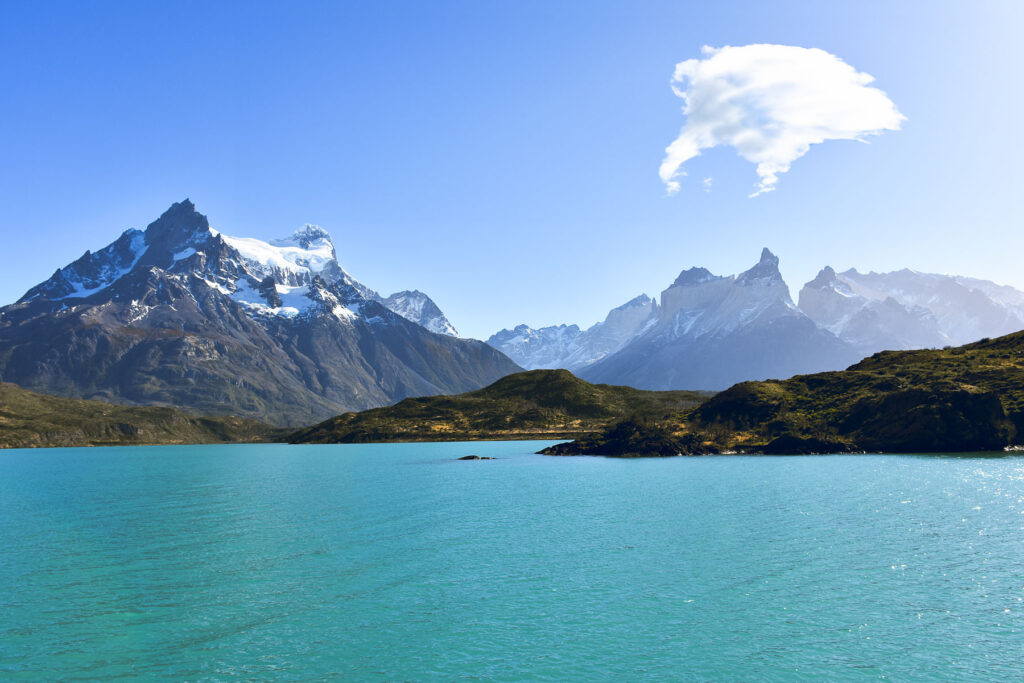
Option 2: Travel from Puerto Natales to Lago Grey Hotel and take the Grey III Ferry across Lago Grey to reach Refugio Grey.
Now, option 1 might seem counterintuitive since you will be returning on the same trail the next day from Refugio Grey back to Paine Grande. But here are some reasons why it makes sense to go this route.
- The ferry ticket from Hotel Grey to Refugio Grey is about 3 times more expensive than the ferry ticket from Pudeto to Paine Grande
- Due to high winds, the ferry from Hotel Lago Grey often gets delayed or cancelled, whereas the ferry across Lago Pehoe is more dependable
- There are fewer transportation options from Puerto Natales to Hotel Lago Grey
- You can leave your heavy pack at Paine Grande and hike to Refugio Grey and back only with a day pack
Once at Refugio Grey, you have a few activities that you should consider.
Activity one: Kayak Lago Grey
This was such a wonderful way of spending the afternoon. As you kayak, you can see the glacier cascading into the lake while being surrounded by snow covered peaks in the distance. If you are lucky, you can even see large pieces of ice getting separated from the glacier and falling into the lake not too far from your canoe.
All the gear and necessary clothing will be provided to you by the kayaking tour company, along with a brief safety instruction lecture.
Activity two: Suspension Bridge hike
The hike is about 5 miles round trip and makes an excellent choice for an afternoon activity or an addition to the next day’s hike. The views of the massive glacier are spectacular and if you want those beautiful photos of walking on the suspension bridge with a shifting ice glacier as your backdrop, this is the place.
Activity three: Ice trekking on a glacier
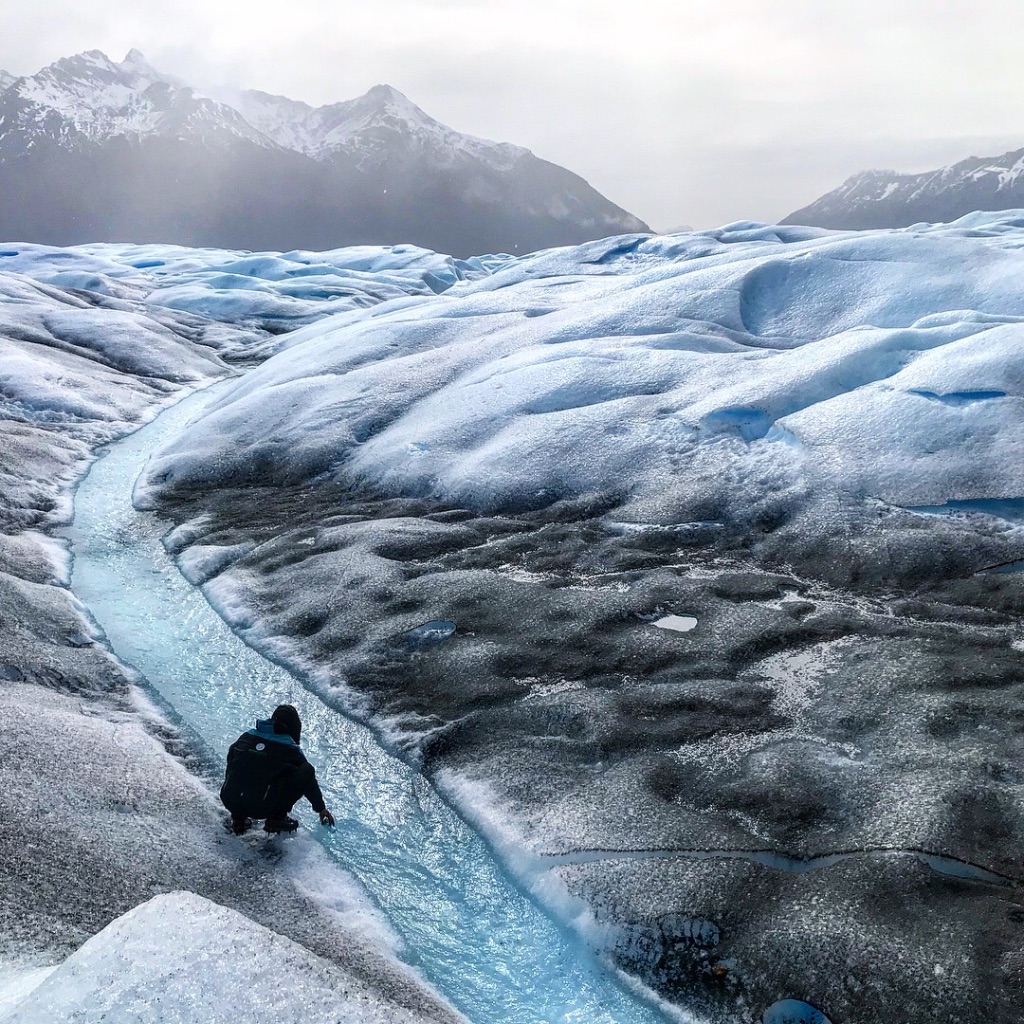
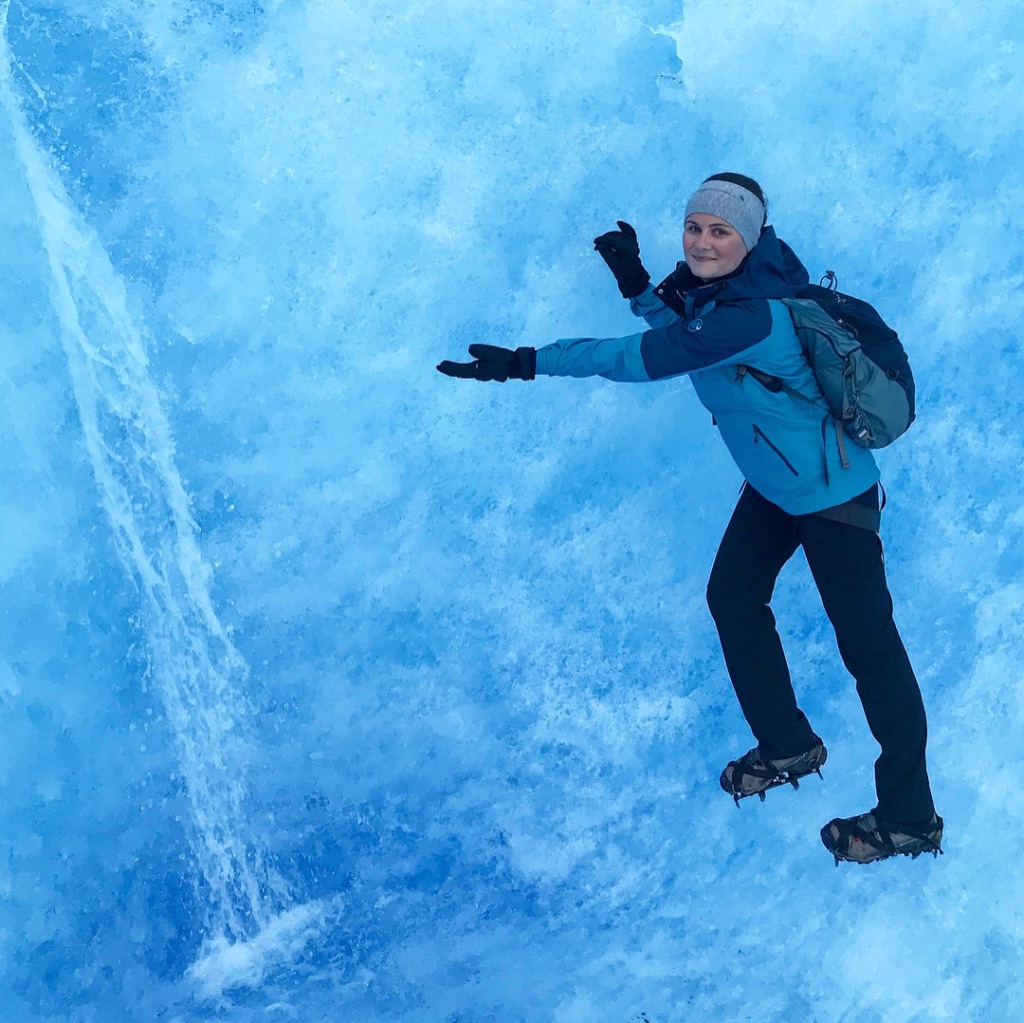
This activity is absolutely stunning. If you’ve never been ice trekking on a glacier and are not planning to go to Perito Moreno after completing the W Trek, you should seriously consider it. You’ll see blue melted water pools, deep crevasses and learn a lot about how glaciers form and what role they play in the environment.
The ice trekking activity takes about 5 hours to complete, and you should allocate extra time for it.
Day 2: Refugio Grey to Refugio Frances – 18 km / 11.2 miles
If you are doing the ice trekking at Refugio Grey in the morning, you will want to hike to Paine Grande and spend the night there.
I chose to hike to Refugio Frances to make my hike to Mirador Britanico the next day shorter, as the hike itself is a little more challenging. I also wanted to leave my heavy pack at Frances and hike to Mirador Britanico only with a day pack.
Alternatively, if you are hiking from Paine Grande, you can leave your pack at Camp Italiano and pick it up on the way back.
You can also upgrade your hostel bunk in a shared dormitory to a luxurious private dome. You’ll get the entire dome all to yourself and some of them even have a hot tub. A similar upgrade is available at Refugio Los Cuernos.
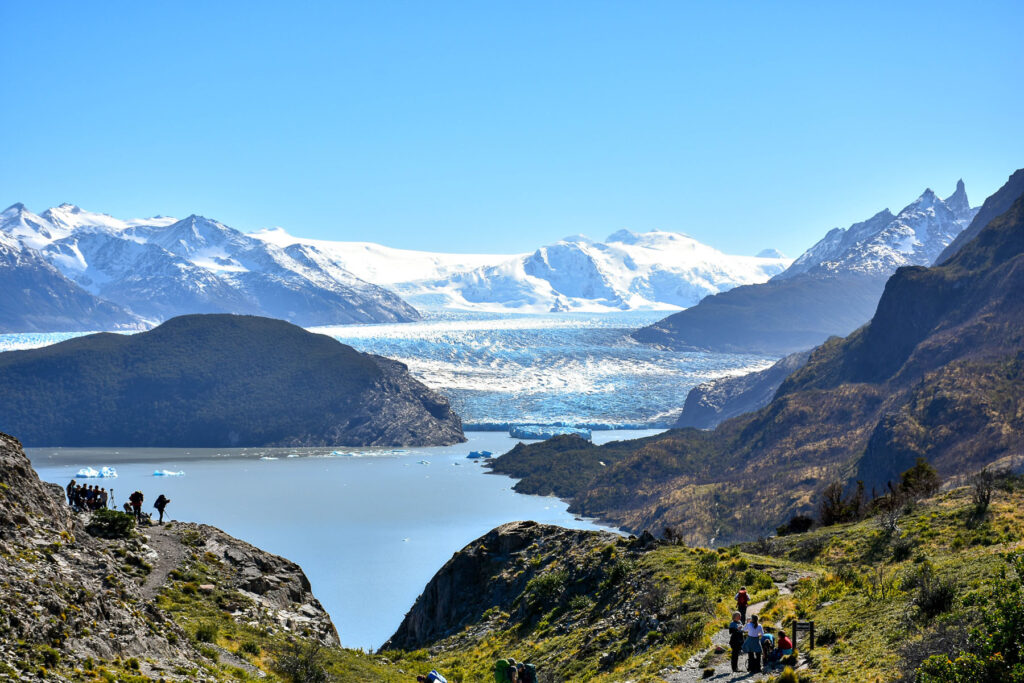
Day 3: Frances to Mirador Britanico to Refugio Cuernos – 17 km / 10.6 miles
For me, this day was the highlight of the entire W Trek. I woke up early in the morning in Refugio Frances and started making my way to Mirador Britanico. As you slowly ascend to the first lookout, you’ll be passing through a mesmerizing forest. You’ll hear the water running nearby as you breathe in the fresh crisp air. If you are making the trek in the fall, you’ll get to experience all the beautiful colors highlighting the snowcapped peaks in the distance.
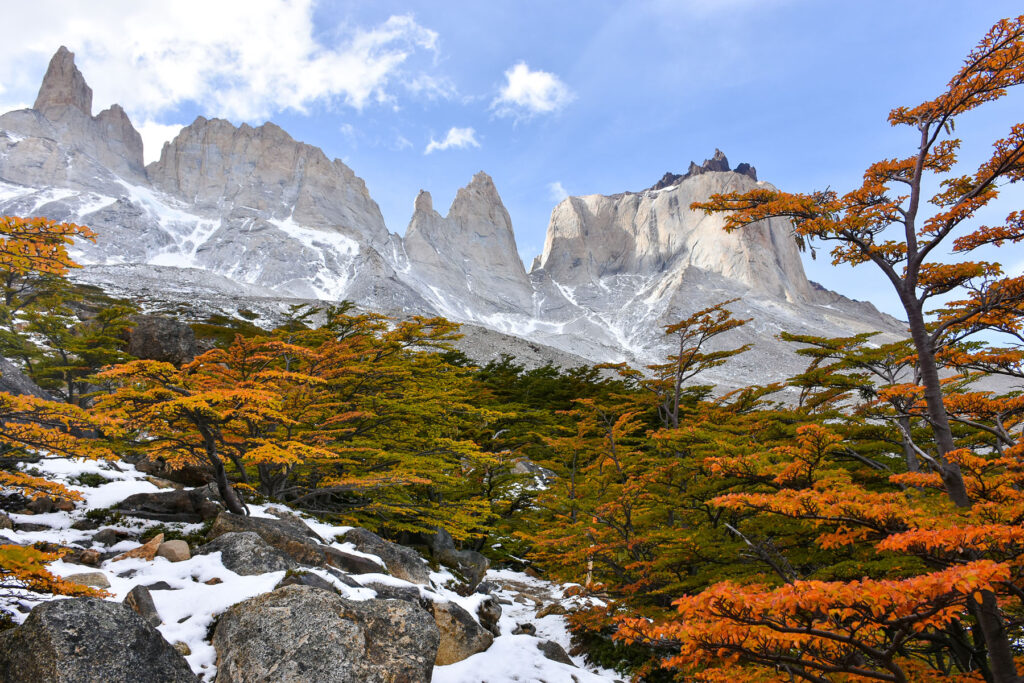
As you reach your first lookout at Mirador Frances and think to yourself “Can it get any better?” the answer is an astounding “yes.” You might be tempted to turn around and go back to your campsite at this point, but I urge you to continue to Mirador Britanico. No, the trek does not get any easier from this point, but you will be rewarded with such spectacular views of the French Valley that all this effort will feel justified.
This is where I also got to see my very first avalanche. As you make your way to the lookout through the enchanting forest, you will hear what sounds like thunder at a distance. And if you are lucky enough not to be surrounded by trees at that point, you’ll get to see the snow rushing down a mountain side. Don’t worry, you’ll be far enough from it to experience its beauty without being in danger.
Once you get your fill of the awe-inspiring views at the last lookout, start making your way back to the trail, pick up your pack at Refugio Frances and head to Refugio Cuernos for the night.
Day 4: Refugio Los Cuernos to Chileno – 12.8 km / 8 miles
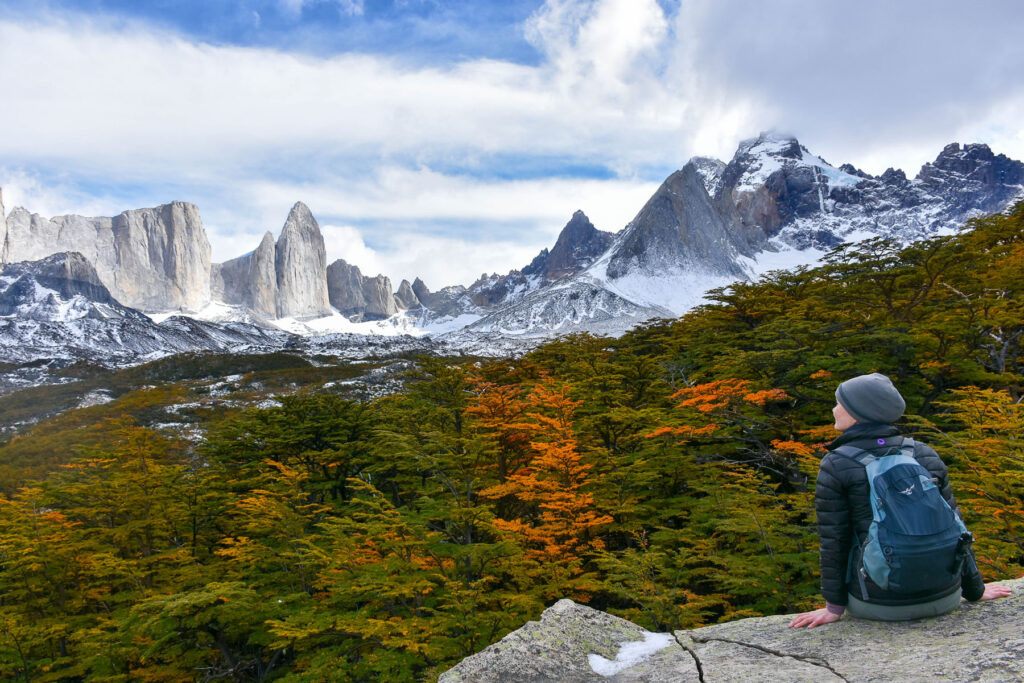
This day is a rather mild hike and you’ll be mostly walking downhill or on flat surfaces. While it might feel like you are leaving all the spectacular views behind at Los Cuernos, you’ll still get to experience the beautiful view of Lake Nordenskjöld with its aqua green color and some scenic viewpoints on the way.
Day 5: Chileno to the base of the Los Torres Towers – 14 km / 8.7 miles
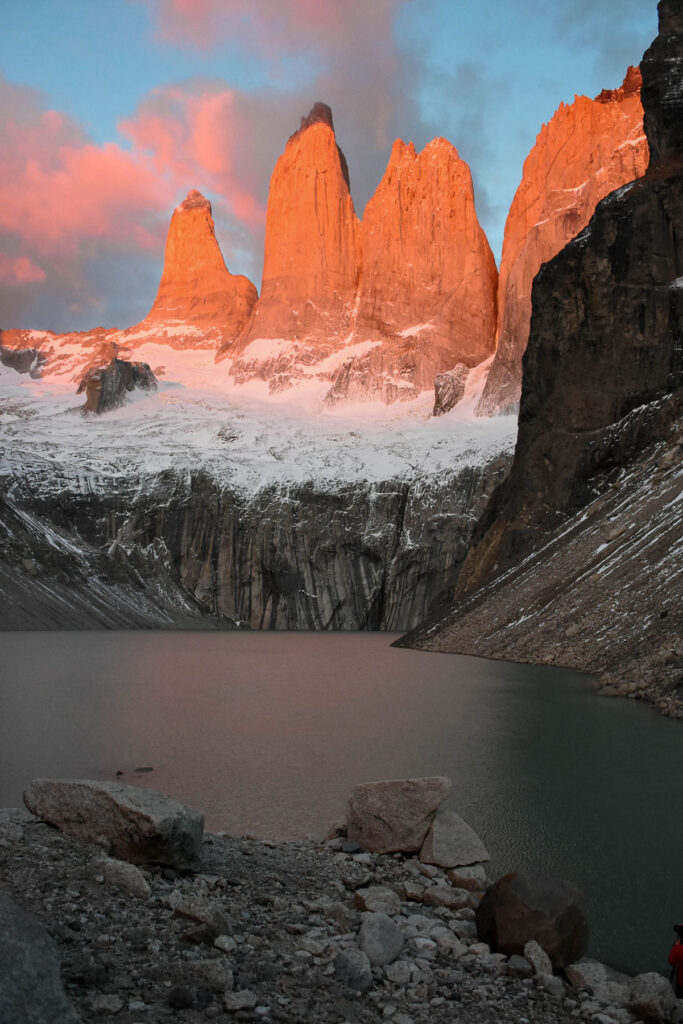
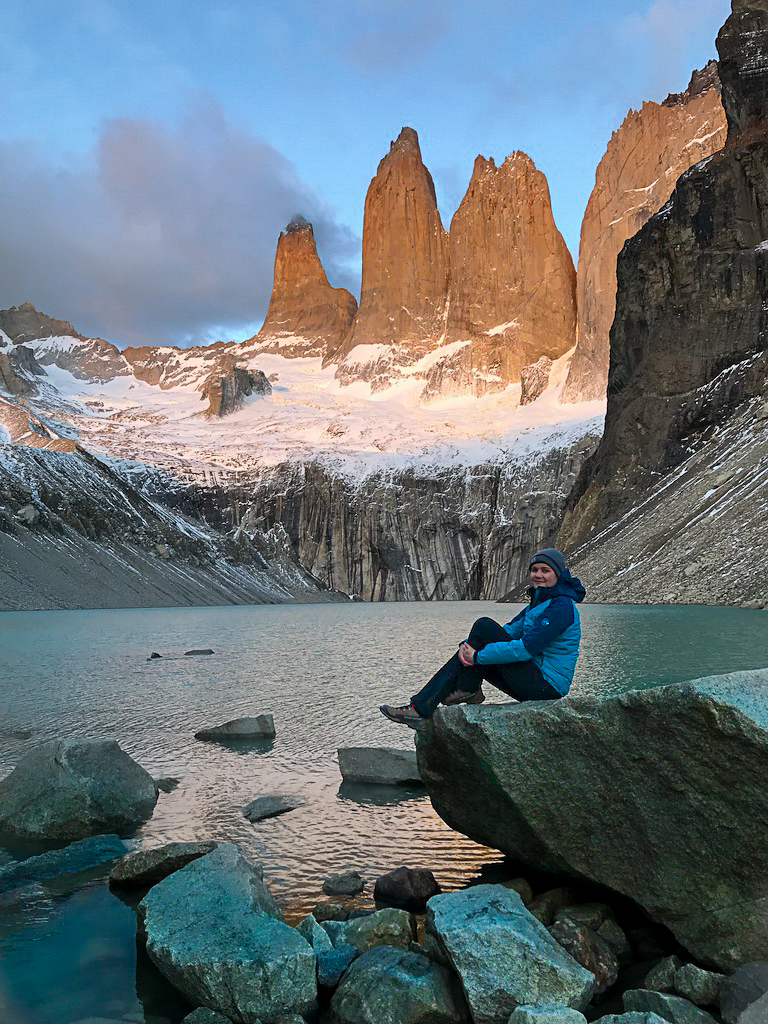
Many consider seeing the sunrise at Los Torres to be the sole reason for this hike. And rightfully so. While the hike to the base of the towers doesn’t need to be at sunrise, I highly recommend it if the weather permits. Ask the ranger at the refugio about the weather the night before.
You’ll get up early in the morning, around 4am, have breakfast and start making your way up to the base of the towers. You’ll be hiking in the dark, so don’t forget your headlamp. There will be plenty of people on the trail, so don’t worry about getting lost. On a clear night, you’ll be able to see the entire Milky Way high up in the sky.
You’ll want to reach the towers while it’s still dark. Once you get there, find a good spot on the rocks, and get ready for the best lightshow ever! As the sun rises, it will bathe the towers in an orange glow slowly covering them from the top all the way to the base. This surreal moment lasts only a few minutes, so as tempting as it is to take a million photos of this iconic view basking in the sun, put your camera down and enjoy the view!
As the light show is over, start making your way back to Chileno to pick up your pack and head towards the bus that will take you back to the park entrance. From there you can get the bus back to Puerto Natales.
What to pack
I put together a comprehensive list of all the things you will need on the trail. This list is meant for those of you who will be staying in refugios along the way. If you are camping, then add all the regular camping gear to the below list (tent, sleeping bag, food, etc.).
The essentials:
- Passport
- Hiking poles
- Dry bag
- Backpack rain cover
- Rain jacket / windbreaker
- Toe warmers
- Gloves
- Baseball hat
- Beanie
- Leggings
- Thermals
- Layers
- Headlamp
- Flashlight for inside the hostel at night
- Knife
- Bandaids (second skin works best)
- Ziplocks for packing up trash
- Sandals or flip flops
- Down jacket
- Sunscreen
- Ear plugs
- Toilet paper
- Water bottle
- Water purifying pills or filter
- Sunglasses
- Swimsuit
- Cash
- Wool socks
- Padlock
- Camera
Other ways of seeing the W Trek
If you don’t feel like walking the entire trek with your heavy pack and changing accommodation every night, then you can choose to stay in one of the hotels near the W Trek and do day hikes instead. It might not be as rewarding as completing the entire trek, but you’ll still get to experience the magical beauty of this place.
Where to go after the W Trek
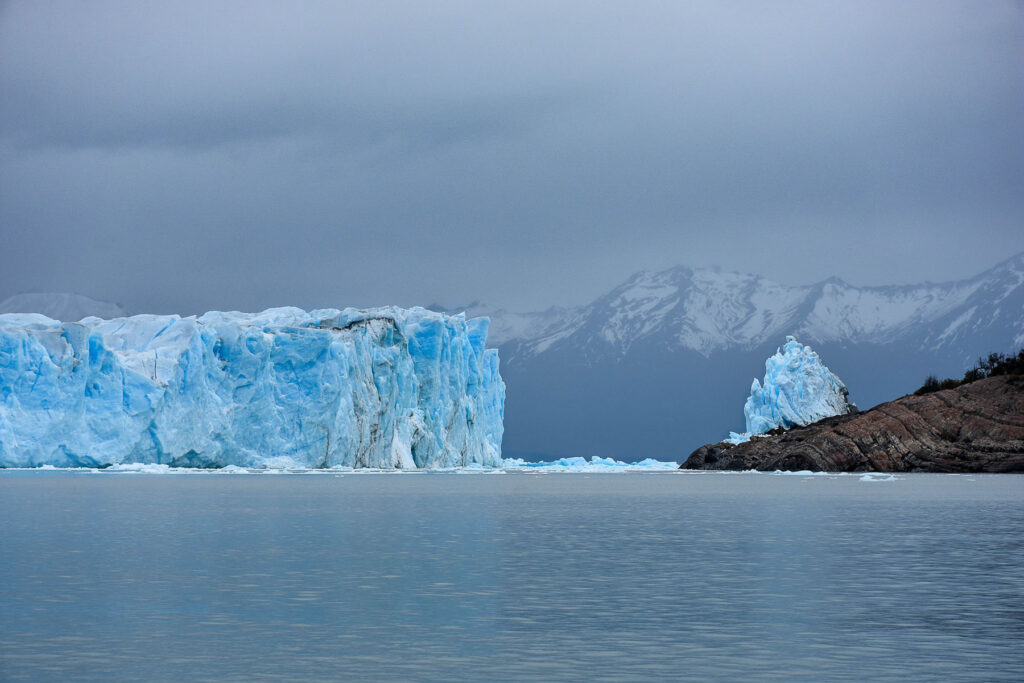
Most people combine the visit to Torres del Paine National Park (W Trek) with visiting the Argentine Patagonia. A must visit place is the Perito Moreno Glacier, a day trip from El Calafate, where you can go on a guided ice-trekking tour across the glacier.
Another point of interest is Mount Fitz Roy, which you can get to from El Chaltén. The area offers many different hikes, which are just as beautiful as the W Trek in the Chilian Patagonia.
If you have more time and want to make it the ultimate adventure of a lifetime, head south to the “end of the world,” the world’s southernmost city, Ushuaia and get on a cruise to visit Antarctica and the Falkland Islands.